WELCOME! I hope that as you browse through the picture portfolio of home improvement projects completed by Honey-Doo, you will get inspired to get started on your own home "to-do" items. Please feel free to post your comments and questions about your home "to-do" items. I would be happy to share my ideas with you. --- Click on any picture to enlarge. --- Rich Wagner, Honey-Doo Handyman --- 630-513-xxxx Office --- 630-334-9997 Cell --- rrichwagner@hotmail.com

Tuesday, May 17, 2005

ENTERTAINMENT AMOIRE FINISHED TOP

\
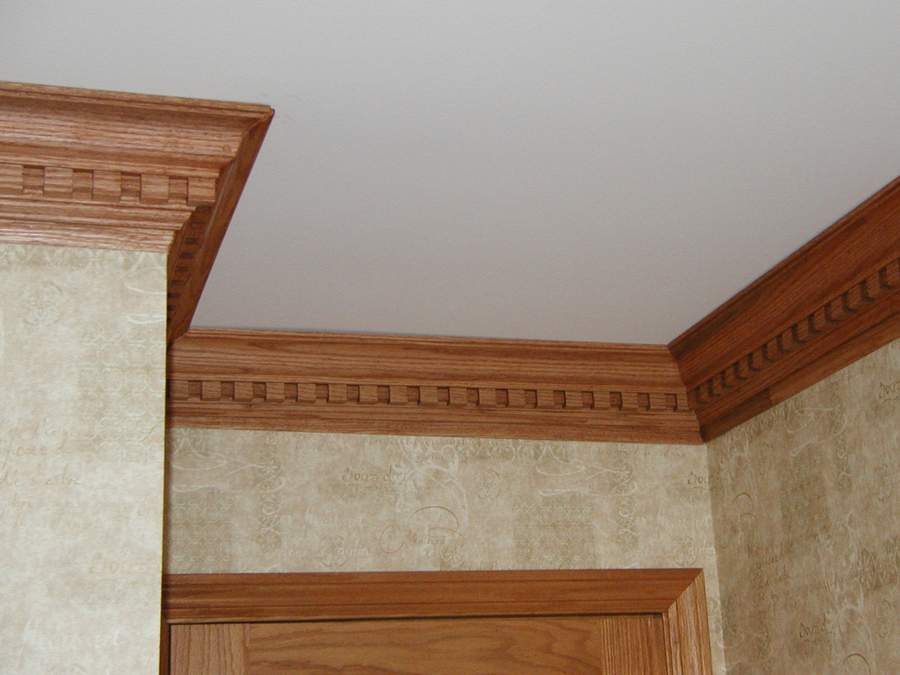
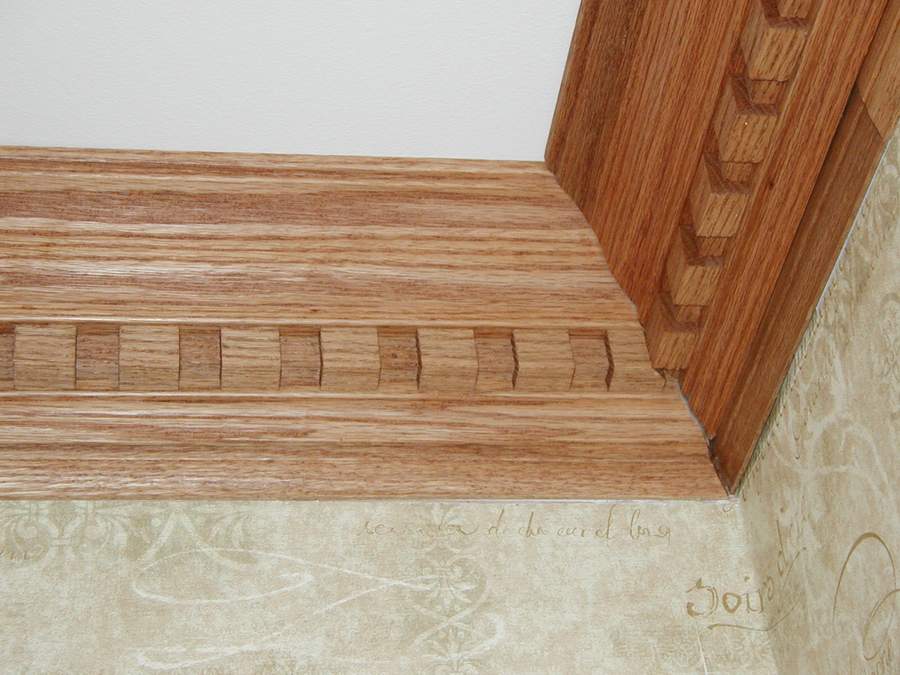
Amoire Finished Top - After Posted by Hello

Many entertainment amoires are used in living areas that have a 2nd story open area which looks down on the furniture piece. The top view of the amoire shown here originally showed structural supports, glue and staples - not a decorator look - especially when accessories were placed on the unfinished top.

The after picture shows a clean finished top. Oak luan sheets were installed to sit just below and inside the furniture crown molding trim. The whole top was stained to match the furniture.

Thursday, May 05, 2005

SPRING MAINTENANCE & REPAIRS


Garage Cement Repair - After Posted by Hello

The cement at grade level on this garage was cracked to the point of exposing the steel reinforcing bars (see the Before picture).


Garage Cement Repair - Before Posted by Hello


Cedar Trim Board & Cap - After Posted by Hello

The lower faux brick on this wall had so deteriorated that normal motar repairs would not look good compared to the rest of the wall. The solution was to first repair the brick damage, and then to cover the repaired bricks with a cedar 1 x 8 with a caulked cedar cap to avoid future problems.


Faux Brick In Need of Repair - Before Posted by Hello


Cedar Trim/Scallop, Horizontal Trim/Cap - After Posted by Hello

The pine trim on this garage saw many attempts at caulking, but finally could be caulked no more. The pine trim and scallop were replaced with cedar and a horizontal trim board/cap was added to match other repairs on the garage.


Weathered Old Trim & Scallop Removed Posted by Hello


Weathered Pine Trim & Scallop - Before Posted by Hello

Tuesday, May 03, 2005

FIREPLACE HARDWOOD SURROUND & MARBLE HEARTH


Fireplace Hardwood Surround/Marble Hearth - After Posted by Hello

The new surround & mantel pictured here is made of popular hardwood. The originally exposed black metal firebox trim is dressed up with marble tile. A leveling product was used to produce a level and matching marble hearth. The new surround is painted to match the exising room trim. Since the plan was to paint the surround & mantel, popular wood was used. However, any hard wood could be used (oak, mahagony etc) and stained to match an existing decor.

Prior to this fireplace face lift (please see the BEFORE picture), an old beat up unimaginative pine wood surround covered the fireplace. Black metal was exposed around the firebox. An uneven slate/grouted hearth dated this fireplace too.


Ready For New Fireplace Surround & Hearth Posted by Hello


Hardwood Fireplace Surround Posted by Hello


Marble Firebox & Hearth Posted by Hello


Fireplace Mantel/Hearth - Before Posted by Hello

OAK CROWN DENTAL MOLDING


Oak Crown Molding Posted by Hello

Looking for a way to make any room elegant? The crown dental molding pictured was used as one of the main design elements in the guest bath remodel.

The three piece crown dental molding used in this project is oak. The oak is stained to match the existing interior trim. The oak material and the labor for the dicey inside and outside corner miters is expensive. But the good news is that you can also achieve an elegant result with crown molding made of other wood such as popular or pine.


Oak Crown Molding Detail - Inside Corner Posted by Hello


Crown Molding Detail - Outside Corner Posted by Hello