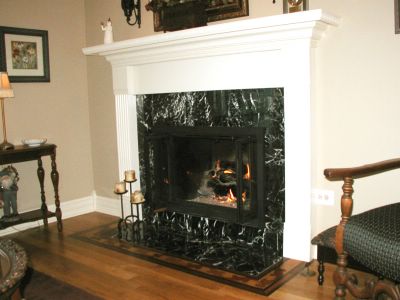
Fireplace Hardwood Surround/Marble Hearth - After

The new surround & mantel pictured here is made of popular hardwood. The originally exposed black metal firebox trim is dressed up with marble tile. A leveling product was used to produce a level and matching marble hearth. The new surround is painted to match the exising room trim. Since the plan was to paint the surround & mantel, popular wood was used. However, any hard wood could be used (oak, mahagony etc) and stained to match an existing decor.
Prior to this fireplace face lift (please see the BEFORE picture), an old beat up unimaginative pine wood surround covered the fireplace. Black metal was exposed around the firebox. An uneven slate/grouted hearth dated this fireplace too.
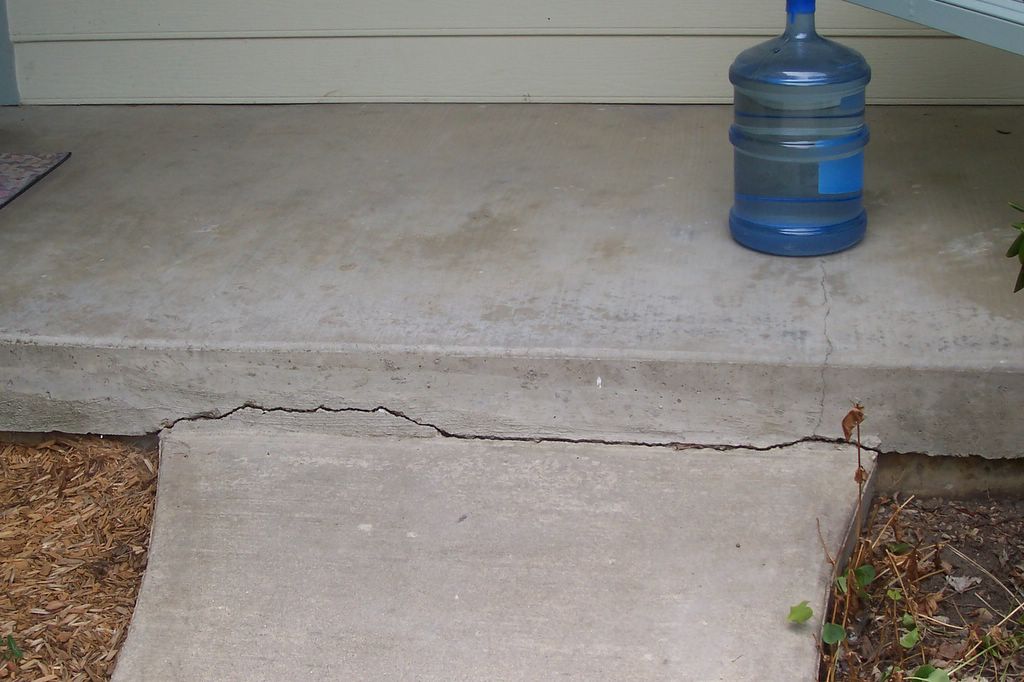
 Unrepaired Driveway Apron

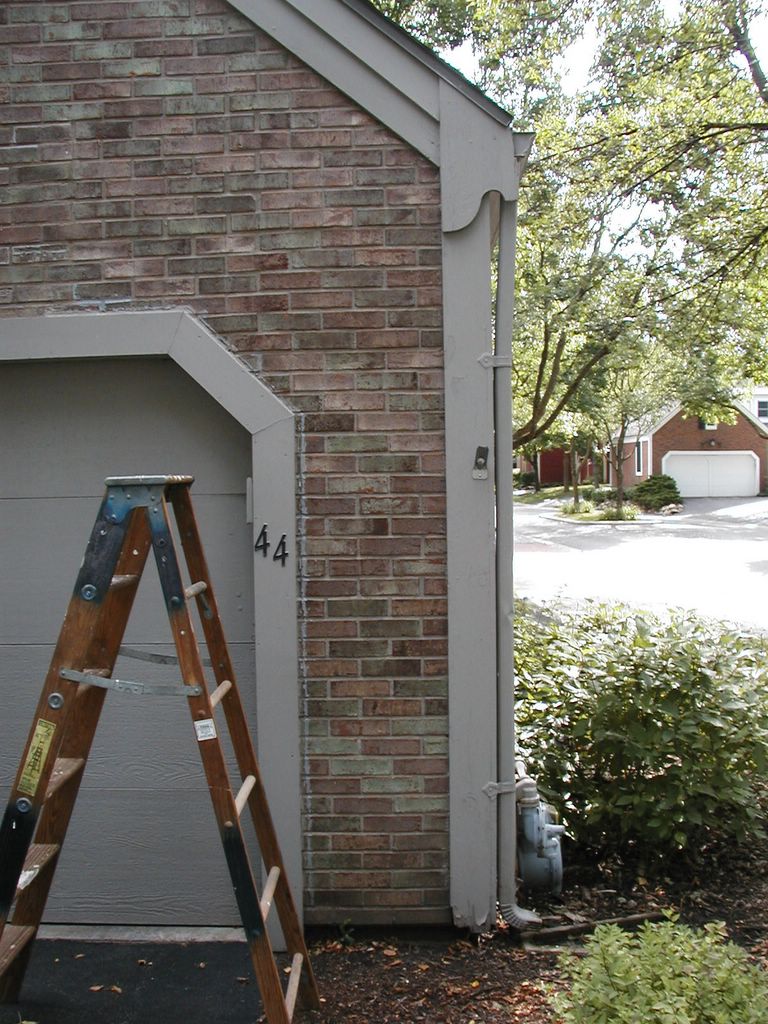
 Repair in Process